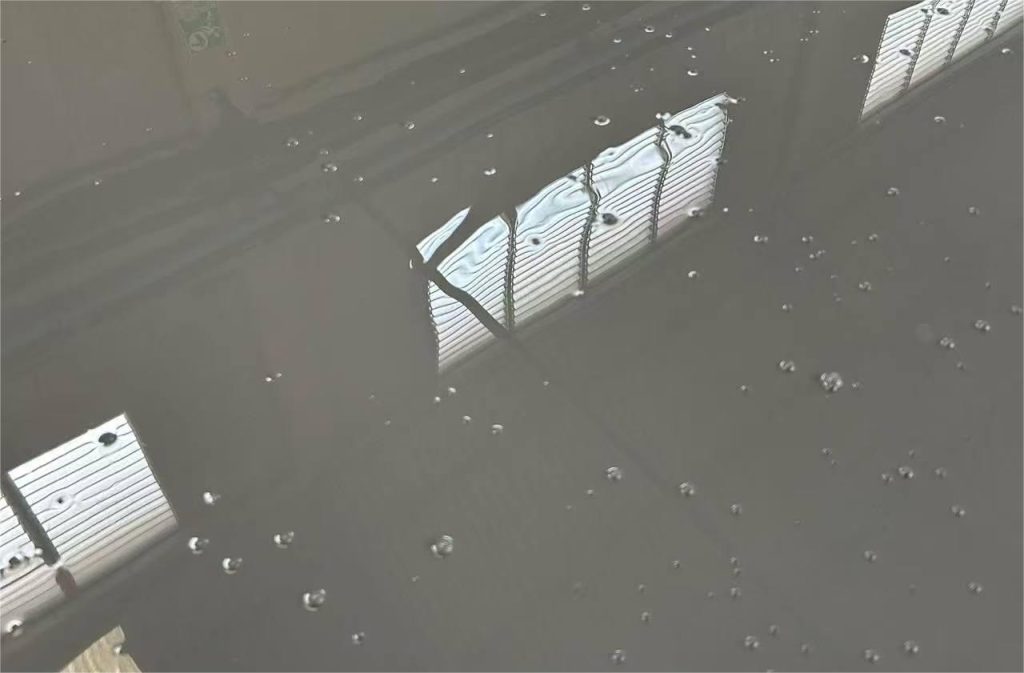
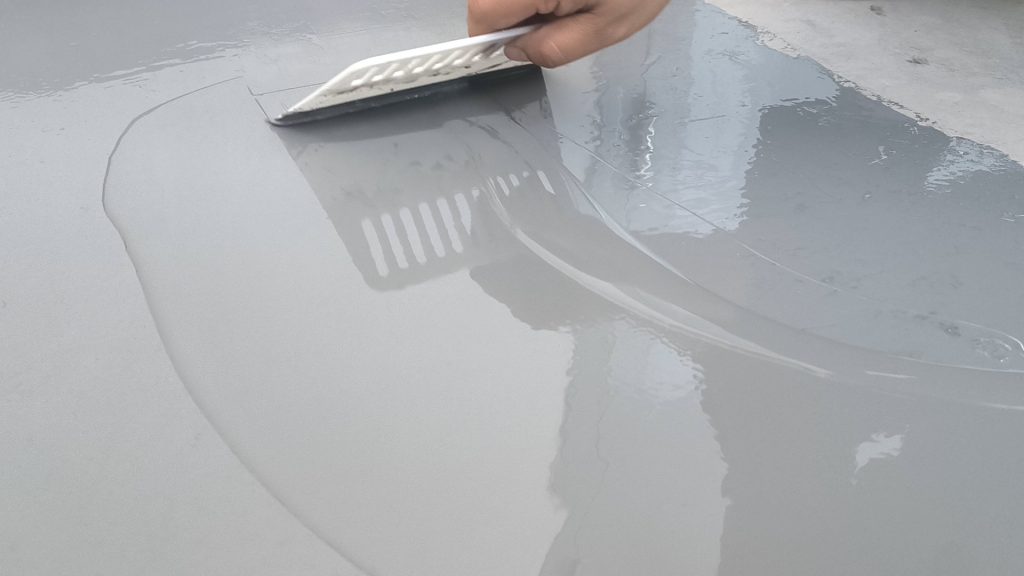
During floor paint application, bubbles are a common but frustrating issue, especially with epoxy floor coatings. The presence of bubbles affects both the aesthetics and durability of the flooring. What causes bubbles to form during application, and how can they be prevented or fixed? This article explores the main reasons behind bubbling and provides effective solutions.

I. Common Causes of Bubbles in Floor Paint Application
1. High Moisture Content in the Substrate
If the substrate (such as concrete or cement floors) has a high moisture content, water vapor can rise during application, causing bubbles to form in the paint layer.
Solution:
- Measure the substrate’s moisture content before application. It should generally be below 8%.
- For high-moisture surfaces, use a moisture-proof primer before applying floor paint.
2. High Ambient Temperature
In hot weather, the solvents in floor paint evaporate too quickly, preventing trapped air from escaping, leading to bubbling.
Solution:
- Avoid applying floor paint in high temperatures. The ideal temperature range is 10-30°C.
- Apply thinner coats and allow sufficient drying time between layers.
3. Uneven or Porous Surface
If the substrate is too rough or contains pores, air may be trapped in the surface, forming bubbles.
Solution:
- Properly grind the floor before application to remove dust and impurities.
- Use an epoxy primer to seal the pores before applying the main coating.
- Fill any cracks or holes with putty or repair mortar to ensure a smooth surface.
4. Air Trapped During Paint Mixing
If the paint is mixed too quickly or not allowed to settle before application, trapped air can lead to bubbles.
Solution:
- Stir the paint gently and avoid excessive agitation.
- Let the mixed paint sit for 10-15 minutes to allow bubbles to escape.
5. Improper Application Tools
Using a roller with high viscosity or applying the paint incorrectly can also cause bubbles.
Solution:
- Use a short-nap roller or a professional trowel for application.
- Use a spiked roller after application to help release trapped air.
II. Prevention and Repair of Bubbles in Floor Paint
1. Surface Preparation Before Application
- Ensure the floor is thoroughly ground and free from dust and oil stains.
- Use a moisture-proof primer if necessary to prevent water vapor from affecting the coating.
2. Environmental Control
- Maintain an application temperature of 10-30°C and avoid high humidity.
- Prevent exposure to strong winds or direct sunlight during application to slow down solvent evaporation.
3. Application Techniques
- Allow mixed paint to sit before application to release any trapped air.
- Use appropriate tools such as a short-nap roller and a spiked roller to minimize bubbling.
- Apply thin and even coats to avoid trapping air within thick layers.
4. Fixing Bubbles After Application
If bubbles appear after the paint has dried, the following methods can be used:
- Small bubbles: Lightly sand the affected area and apply a touch-up coat.
- Large bubbles: Scrape off the bubbled section, apply a new layer of primer, and reapply the topcoat.
III. Conclusion
Bubbles in floor paint are mainly caused by high substrate moisture, environmental factors, improper tools, or poor application techniques. To prevent bubbling, it is crucial to control moisture levels, apply paint under suitable conditions, and use appropriate tools and methods. If bubbles do appear, they can be repaired by sanding or reapplying the affected areas.
For professional floor paint solutions and expert application guidance, feel free to contact Zhengzhou Shuanglian. We provide high-quality floor coatings and comprehensive support to help you achieve durable and visually appealing flooring!


